Notes
The Help Desk can create a note and communicate with the supplier during the registration process. Notes are classified as private or public and can also be used to record information without notifying the supplier.
Create Note Supplier Matrix
Note Type | Request More Information | Results |
|---|---|---|
Private | No | An email is sent to the Created By. No change in supplier status. Entry added to note list. |
Private | Yes | An email will be sent to the Inviter. Status changed to Request more information. The Supplier must resubmit the registration. DO NOT USE. |
Public | No | No email sent. No change in status. Entry added to note list. |
Publlic | Yes | An email is sent to the Supplier. Status changed to Request more information. Entry added to note list. |
Create Note Proxy Matrix
Note Type | Request More Information | Results |
|---|---|---|
Private | No | An email is sent to the Created By. No change in supplier status. Entry added to note list. |
Private | Yes | An email will be sent to the Inviter. Status changed to Request more information. |
Public | No | No email sent. No change in status. Entry added to note list. |
Publlic | Yes | Hard stop - The workflow will move to request more info and the proxy will need to be contacted outside of the SOAR portal to resubmit - DO NOT USE. |
Create Note Instructions
Login to the GE Single Sign On Portal.
Select the Help Desk Role Name in the dropdown.
Click the Continue button.
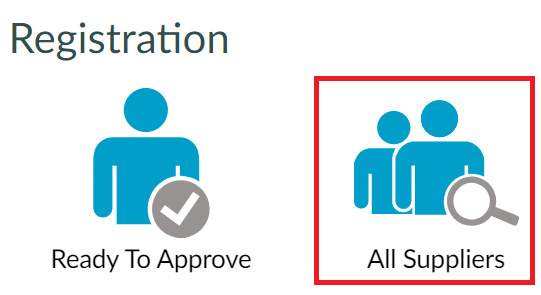
Select the All Suppliers icon from the dashboard.

Search for the vendor number in the VR ID column or supplier in the Company Name column.

Click the Supplier Record to highlight the row.
Click the Notes button. A new window opens to the notes list view.

Click Add New Record. A new window opens to create a note.

Select Private or Public for Note Type.
Select Yes or No for Request More Information.
Enter Note Text.

Click the Submit to record the note or Discard to return to the list of notes.
Clicking the supplier name in the Company Name column opens the supplier registration in view mode. Creating a note is not available in view mode.
The Help Desk can also search for the supplier registration using the Simple Search section. Enter the vendor number in the VR ID field or supplier in the Company Name field and click the Search button.
Note Filter, View and Export Instructions
Notes filter in the same manner as the list of supplier registrations. Visit the Search section for further instructions.
Click the View button to read a new or existing note.

Click Export to Excel to download all notes to an excel file.
